

 Facebook
 Twitter
 Pinterest
 Copy Link

Though we just officially entered the fall season, those who live above 6000 feet know that “winter is coming.”
You never know how much snow we’ll receive in a year. After 27 years of being here, it is best to be prepared for heavy snow each winter. There’s a couple home maintenance tasks you’ll need to cross off your list. Here are some tips and tricks to follow on how to winterize your home…
1. Watch for Drafty Doors and Windows
Make sure the weatherstripping on your doors is in place and you’re not letting cold air seep in. You can purchase draft stoppers online or even create one on your own. Also caulk your windows to prepare yourself from the winter weather.
2. Flip Your Ceiling Fan Blades
Switching your blades to run clockwise will push the warmer air down to the ground, saving you money on your heating bill!
3. Invest in a Programmable Thermostat
If you’re at work all day long and your furnace is running at normal temps, you’re wasting a lot of money for something no one is using. With a programmable thermostat, you can lower the temps while you’re at work and have it jump back up to warm up your place before you even pull in the driveway. Plus programmable thermostats are widely available for as little as $50, and the average family will save $180 a year with one.
5. Clean Your Gutters
The build up of leaves and debris combined with heavy ice or snow can really cause a lot of damage to your gutters, which could potentially cause water leaks inside your home. Clean them out before the next big storm so the water can drain freely.
6. Winterize your Air Conditioner
Drain any pipes or hoses coming from your A/C unit so they don’t freeze during the winter months. Also make sure to vacuum out any pools of water you have in the air conditioner’s drain pan. You can also cover your central air unit with a plastic air conditioner cover. The cover will keep water and snow out of the unit and prevent rusting.
7. Change Your Furnace Filters
It’s important to replace or clean furnace filters during the heating season. Dirty filters restrict airflow and increase energy demand.
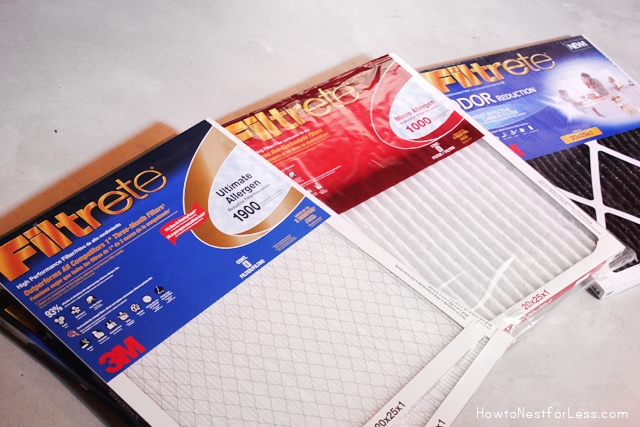
Filtrete Filters start at just a few bucks, last up to 3 months, and can be purchased at a lot of big retailers like Lowe’s, Target, Walmart and your local hardware store (you can find a location near you from FindMyFiltreteFilter.com). Change your filter at the start of every season as a reminder!
8. Firewood 101
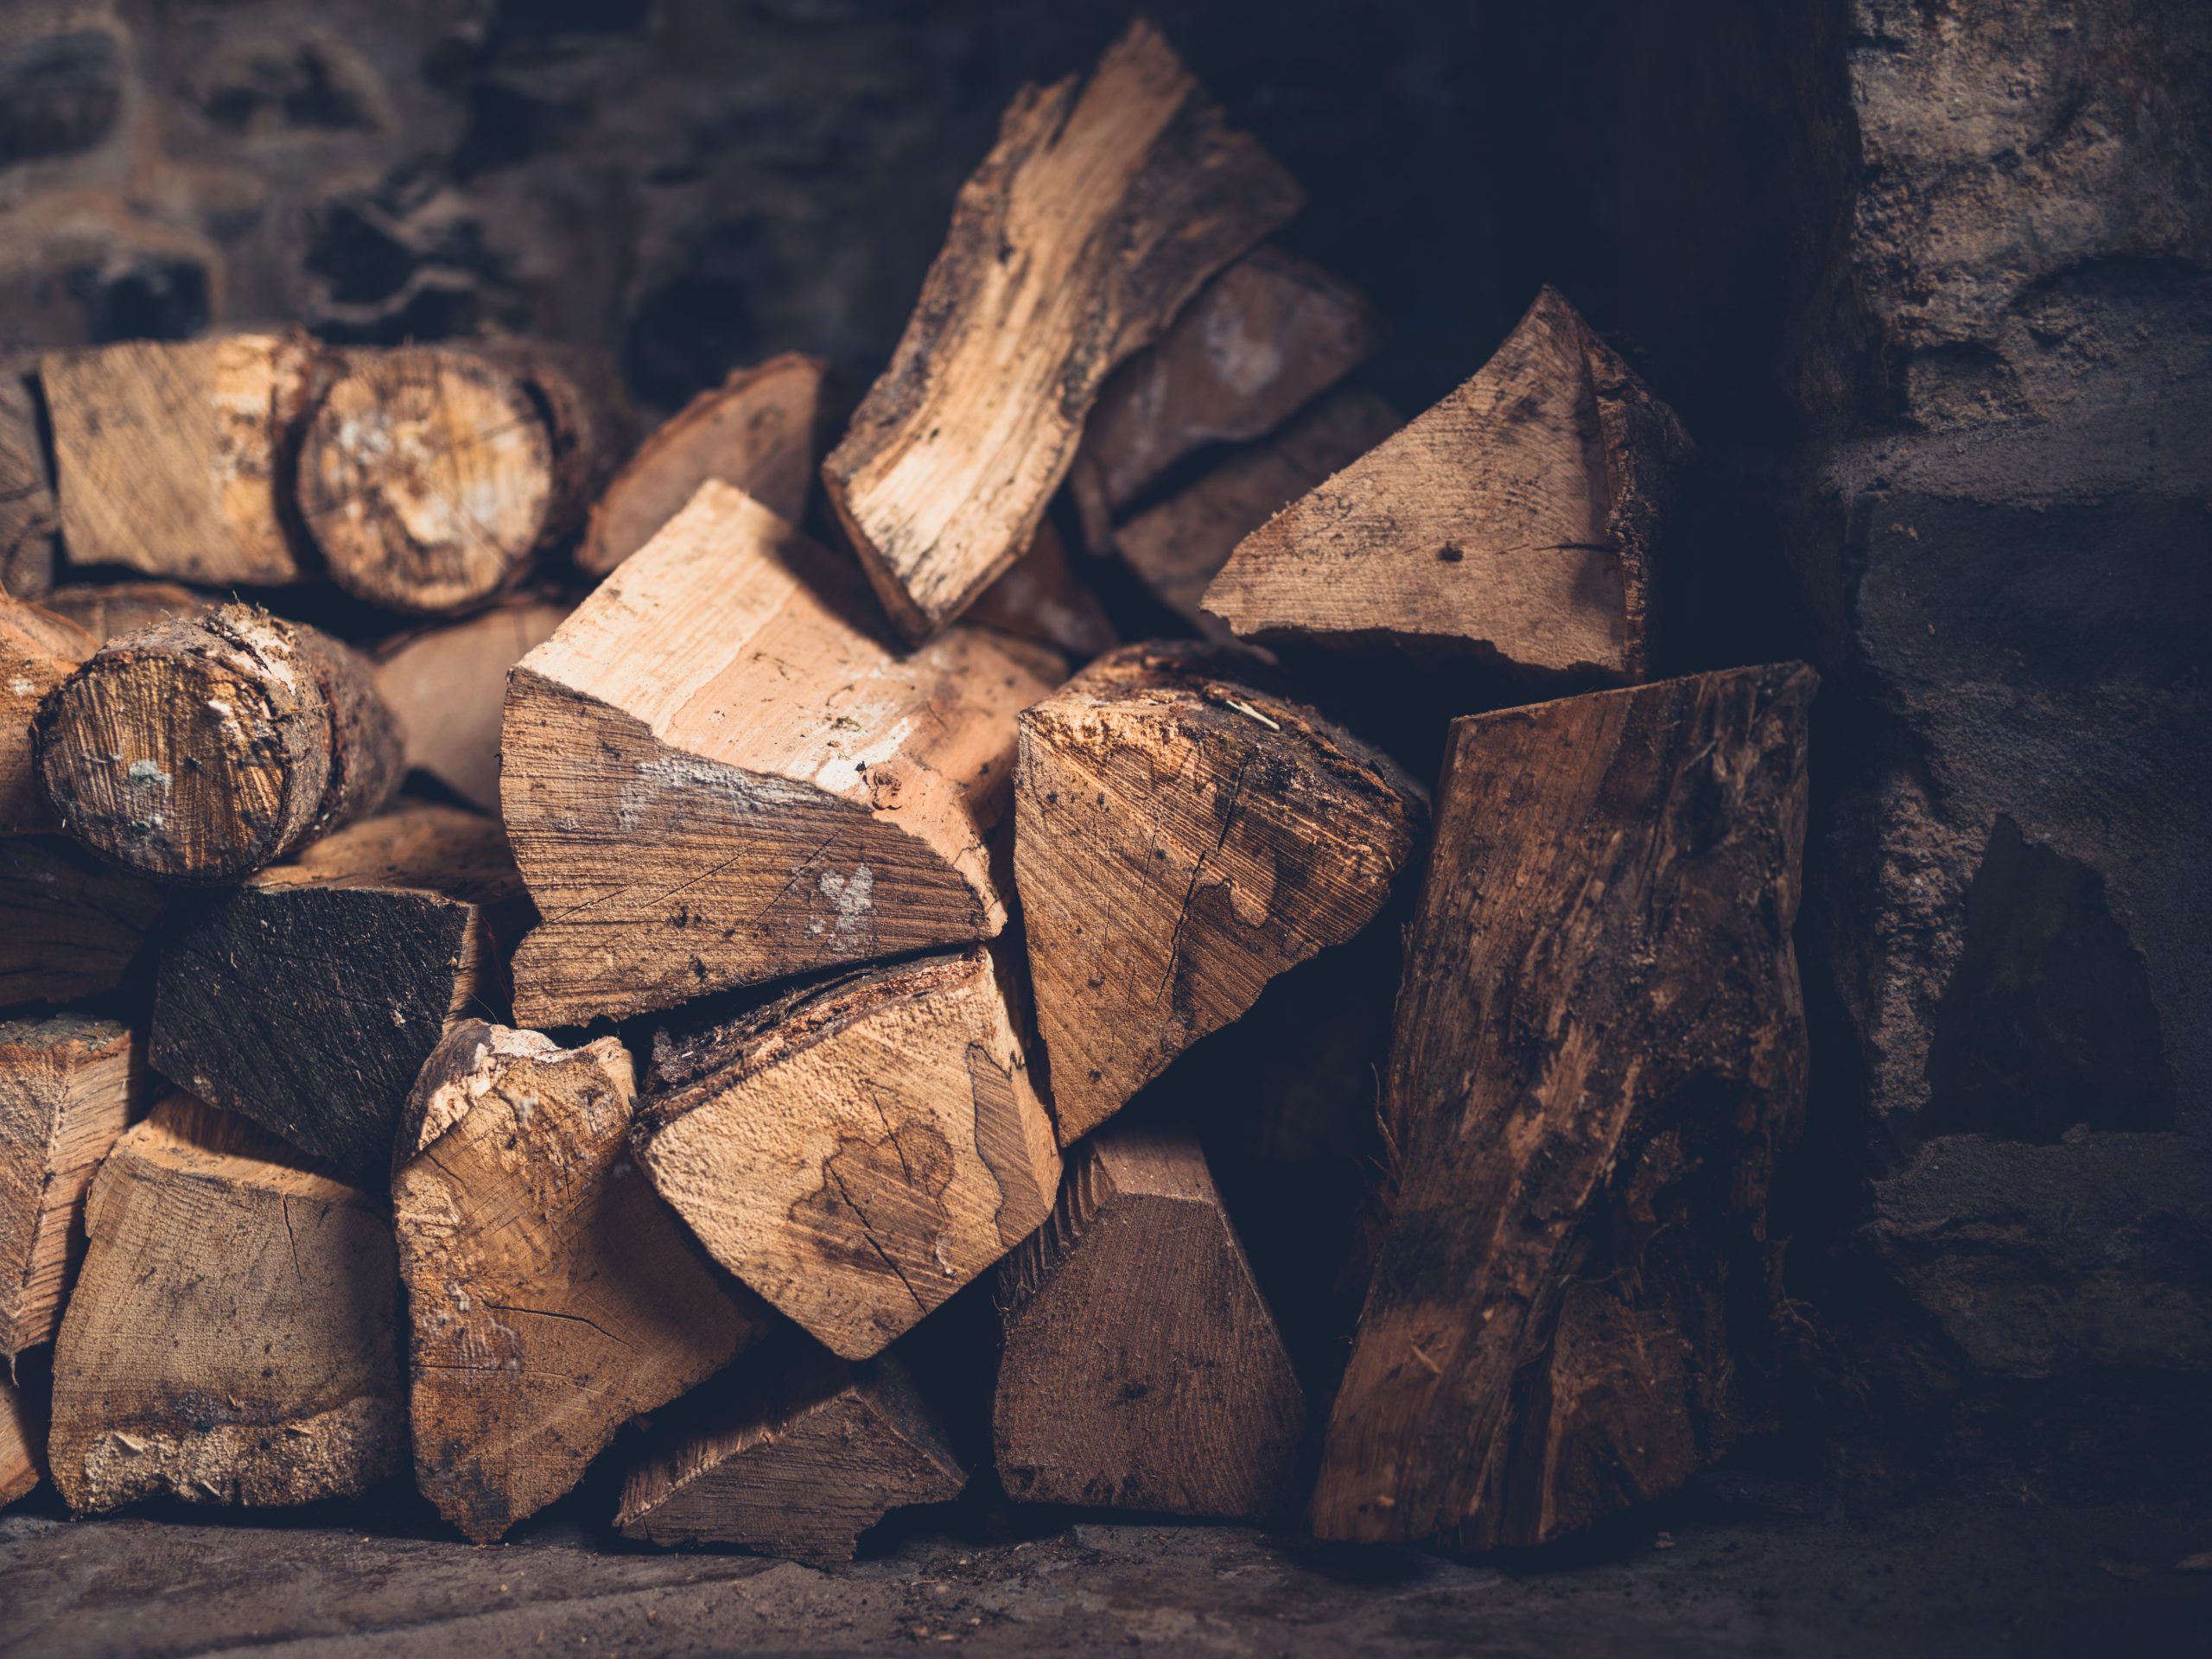
A stack of logs in a fireplace
Wood-cutting safety:
Although often ignored by amateur woodcutters, safety equipment is a key part of cutting firewood properly. I started using chainsaw chaps after a spinning saw chain cut through my pants without touching my skin. While chaps can’t eliminate leg injuries completely, they can make the difference between a small injury and a life-threatening disaster. A chainsaw helmet with a face guard and earmuffs makes the work safer and more pleasant.
Cross-cutting logs:
The size of the stove or fireplace you’ll be burning the firewood in determines the ideal lengths you cut, and I always take the extra trouble to mark logs before cutting. Cut a measuring stick to the firewood length that’s ideal for you, and then use it to guide an axe as you mark the length.
A couple of hits with a maul makes a mark on the bark that ensures surprising consistency when sawing.
Cutting safely with a chainsaw is a topic in itself that’s been covered before in books and articles. Once you’ve mastered safe cutting skills, there are still two things you need to remember as you cross cut logs. The first is to cut square; the larger the diameter of logs you’re cutting, the more important square cuts are. An angled cut means that the split logs with vary in length. The second issue—which is vitally important—is that you avoid letting the saw chain hit the soil or any rocks underneath the logs as they sit on the ground. Even a split-second contact with the earth will turn a razor-sharp chain into a useless assembly of spinning metal. A dull chain can be re-sharpened, but the process can take 10 to 30 minutes. A two-part cutting process is key to avoiding this trouble: make each cross cut three-quarters down through the log, then roll the log and complete the cut from the top.
Splitting wood:
Even when logs are small in diameter, it makes sense to split them. Splitting speeds drying and improves burning qualities. An axe is the most accessible tool for splitting wood, but you need more than just an ordinary axe. Too many people struggle unnecessarily because the axe they use for splitting is far too light and far too thin. A 6-lb. or, better yet, an 8-lb. splitting maul is a far more effective choice. Just don’t be fooled by the weight. While a heavier axe is more challenging to lift, that weight makes good things happen. Also, splitting mauls have a much broader tip angle, so they resist sticking in the wood.
When you’re dealing with knotty logs or tougher species cut longer than 18″, a gas-powered or electric splitter is a better option than an axe. I use a large gas model these days at my place, but I know from experience that small electric splitters work amazingly well too. Regardless of the tools involved, I split the wood so that each side is between 4″ to 6″ across.
Stacking wood:
Besides looking good and being more stable, round woodpiles are faster to stack than straight piles and they make it easier to keep the wood dry. Start by sticking a 12″ spike in the ground where you want the centre of the pile to be. Determine the radius of the circle you want (I use a 4′ radius for 16″-long wood; 5′ for 24″-long wood), then cut a rope to this length, including a loop on the end. Place the loop over the spike, pull the cord taut and then rotate it around the circle to guide the placement of the outer ends of each piece of firewood. Build up several layers this way, following the end of the rope, with all pieces of wood pointing in, toward the centre. With your circular wall built a foot or so high, throw wood in the open middle part to fill it in. Brace the growing pile from bulging outward by placing 8′-long (or whatever pile diameter you’re building) poles across the circle five or six times as it’s going up. Also, build the sides so they lean inward slightly, either by eye or by using a 4′ level. Round the top of the pile as it approaches full height, put a tarp over the top of the pile to shed rain and then place one more layer of wood over the tarp to keep it in place and hidden.
Making firewood is another kind of woodworking, and although it isn’t for everyone, it’s something that more Canadians can benefit from. Sustainably harvesting and preparing firewood provides exercise, energy security and a great way to make use of a renewable resource. All in all, I call that a great deal.
Wood types:
ound for pound, all wood contains the same amount of heat. The main advantage of hardwoods is that they pack more energy into a given piece of firewood because they’re more dense. That said, different species do have different burning characteristics.
Hard maple: An excellent all-around firewood available mostly in the southeast of Canada. Not as easy to split as oak or ash.
MBTU*/cord: 21.1
Weight: 3,400 lb./cord
Birch: Found more widely across Canada, birch delivers a good amount of heat, although most varieties don’t burn as cleanly as other hardwoods.
MBTU/cord: 20.0
Weight: 3,230 lb./cord
Oak: Red oak is my favourite firewood. It’s easy to split, it burns very hot and it dries more quickly than other wood species.
MBTU/cord: 22.1
Weight: 3,570 lb./cord
*MBTU = one million British thermal units
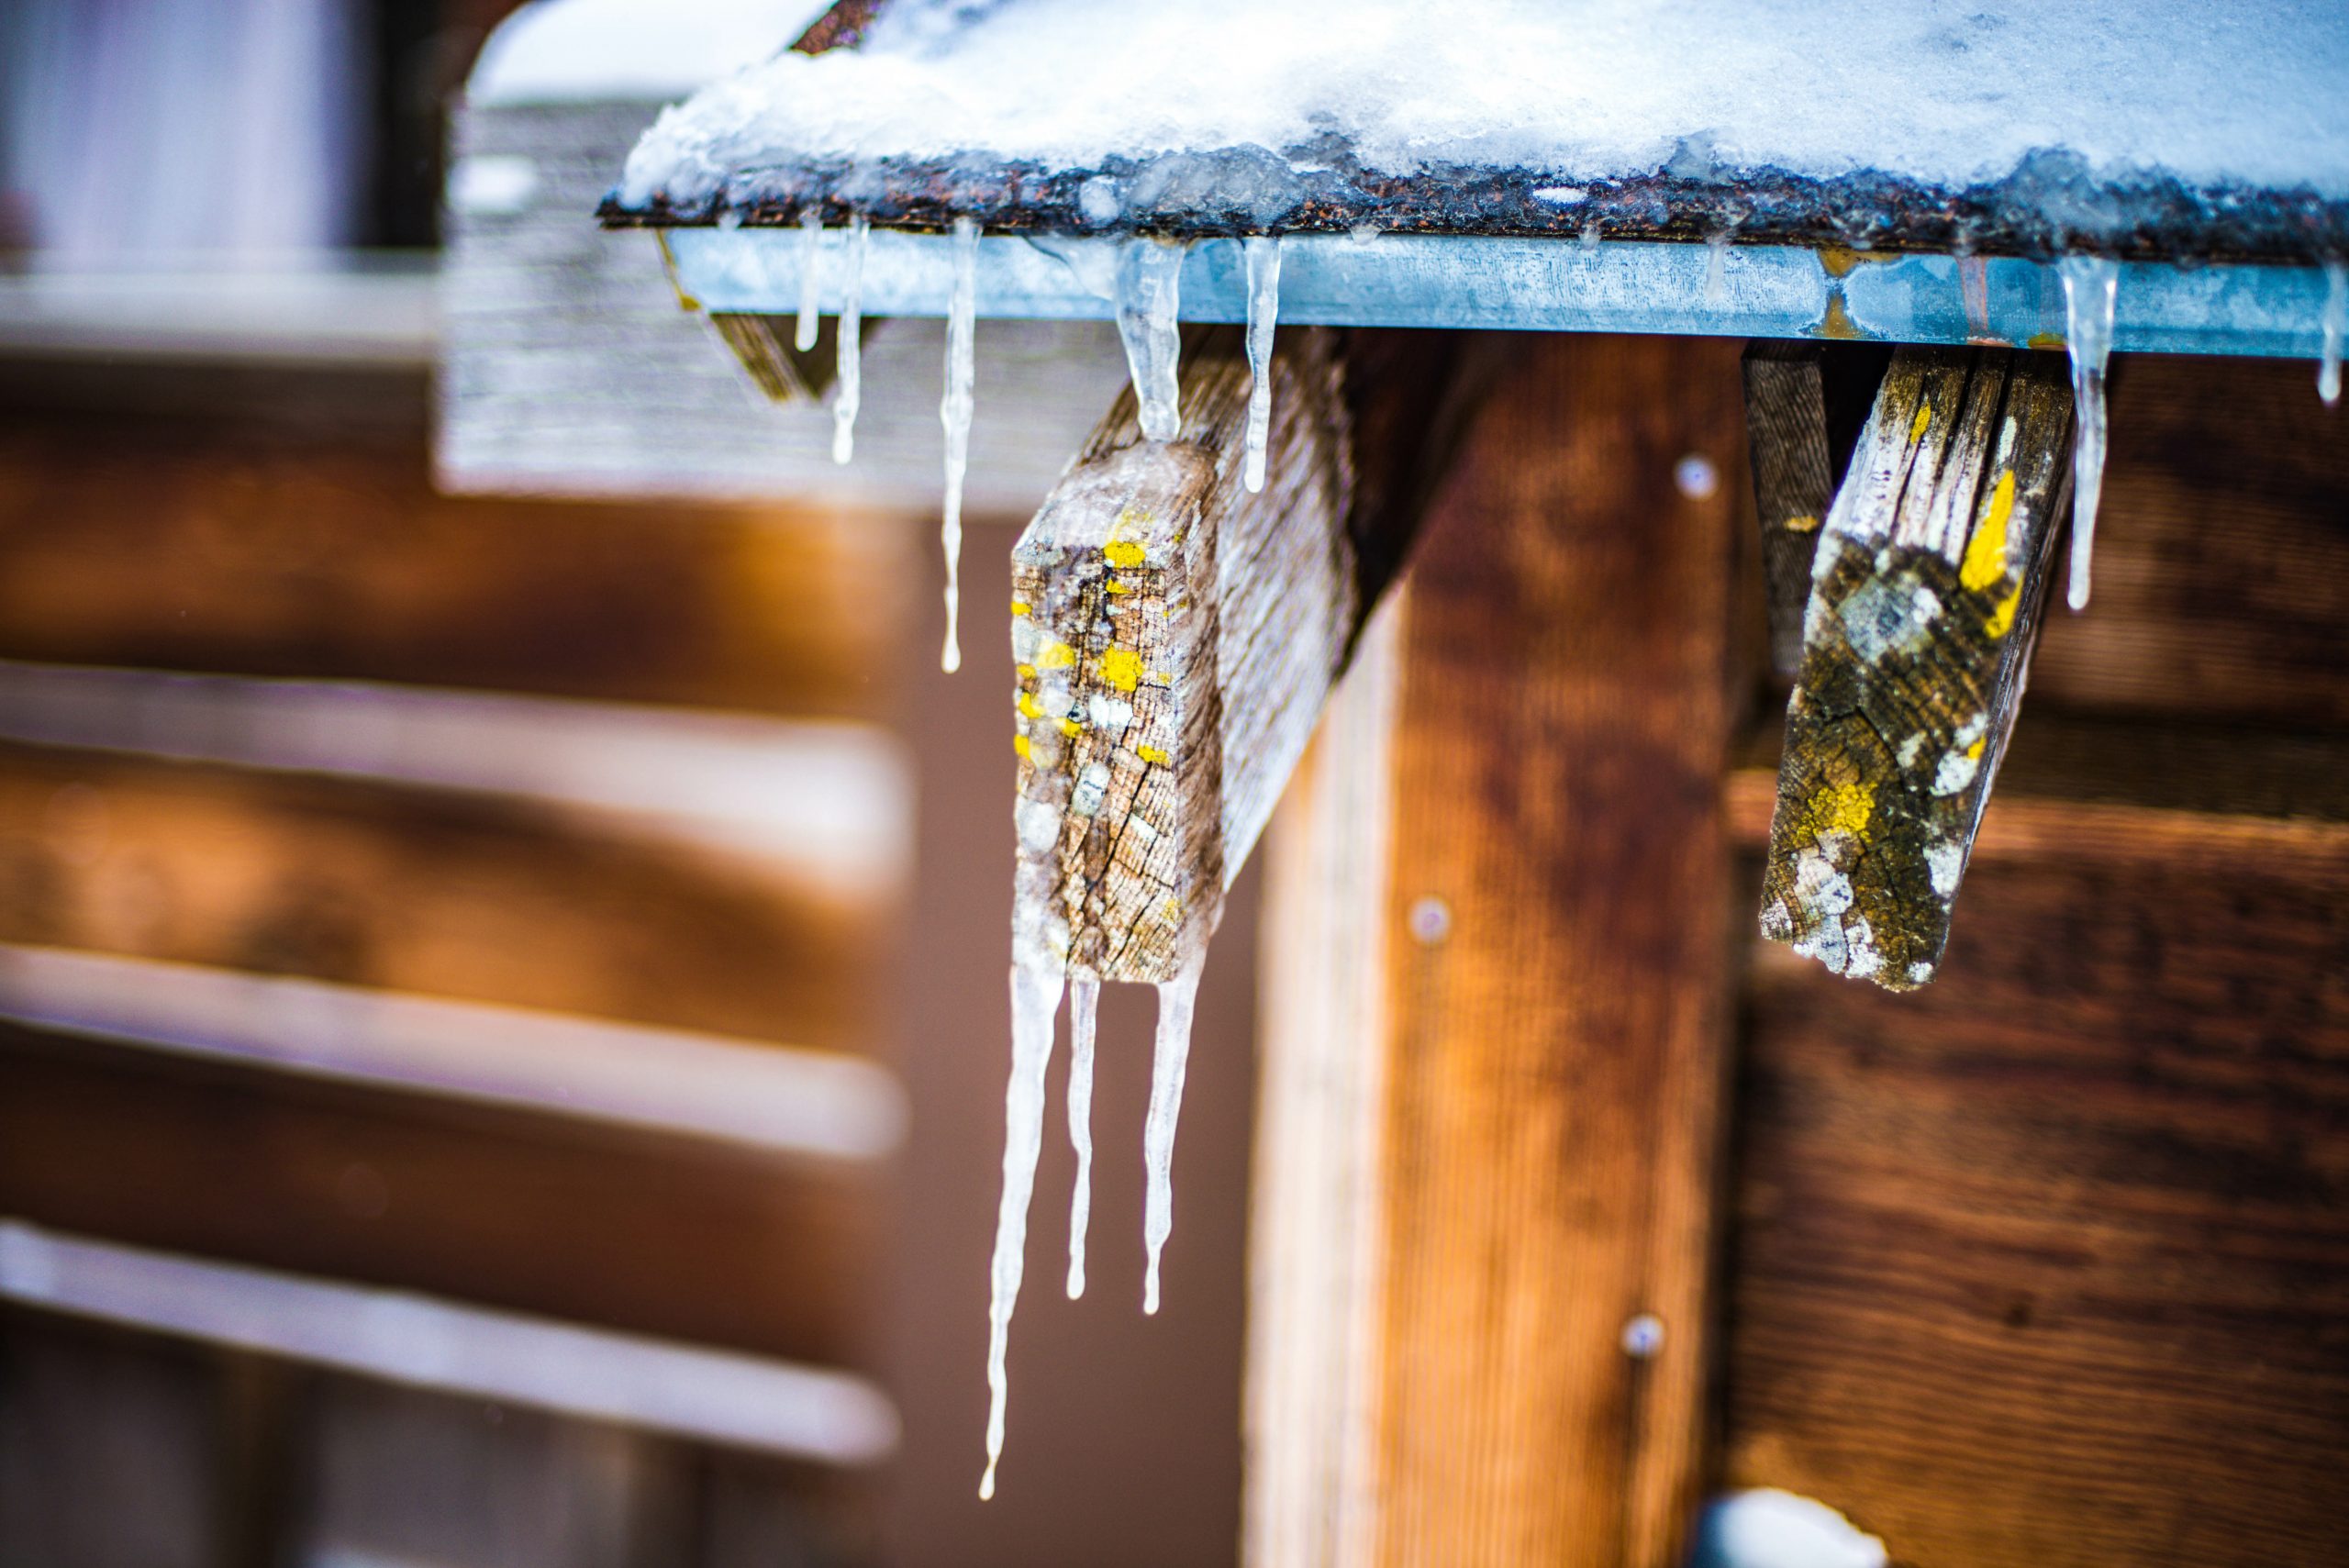
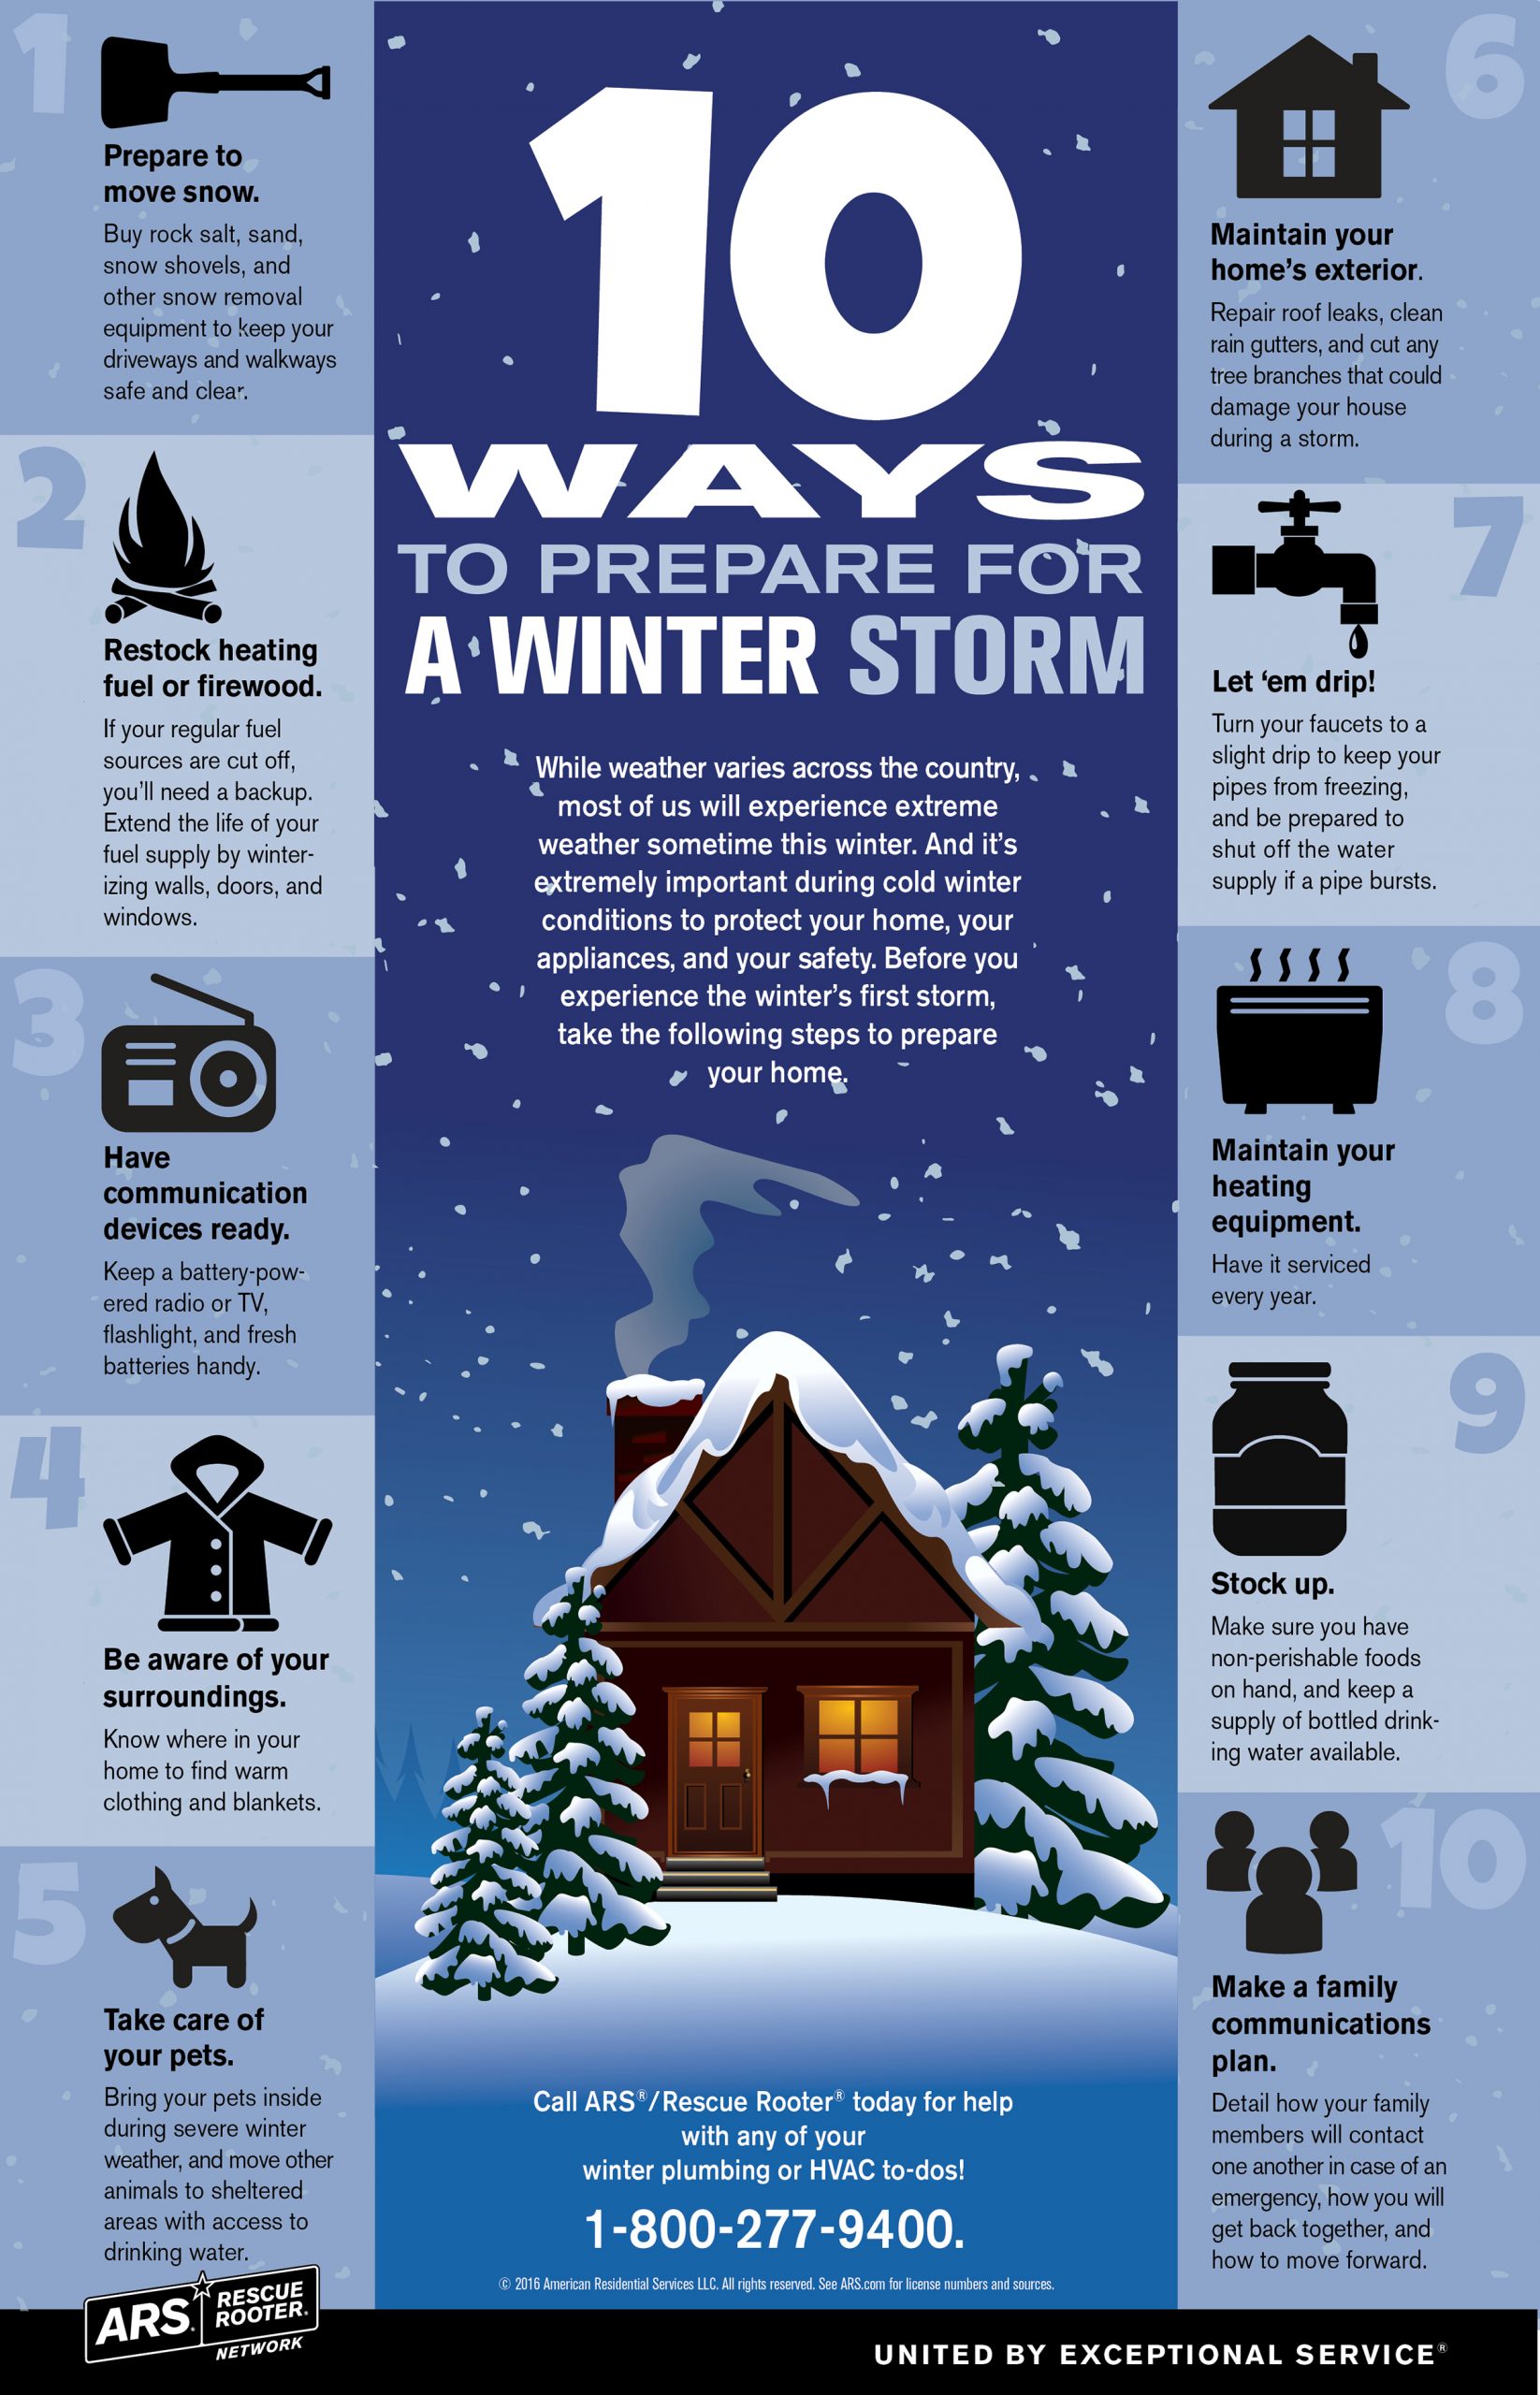
While weather varies across the country, most of us will experience extreme weather sometime this winter. And it’s extremely important during cold winter conditions to protect your home, your appliances, and your safety. Before you experience the winter’s first ice storm, take the following steps to prepare your home.
Top 10 Ways to Prepare for Winter Ice Storm
- Prepare to move snow. Buy rock salt, sand, snow shovels, and other snow removal equipment to keep your driveways and walkways safe and clear.
- Restock heating fuel or firewood. If your regular fuel sources are cut off, you’ll need a backup. Extend the life of your fuel supply by winterizing walls, doors, and windows.
- Have communication devices ready. Keep a battery-powered radio or TV, flashlight, and fresh batteries handy.
- Be aware of your surroundings. Know where in your home to find warm clothing and blankets.
- Take care of your pets. Bring your pets inside during severe winter weather, and move other animals to sheltered areas with access to drinking water.
- Maintain your home’s exterior. Repair roof leaks, clean rain gutters, and cut any tree branches that could damage your house during a storm.
- Let ‘em drip! Turn your faucets to a slight drip to keep your pipes from freezing, and be prepared to shut off the water supply if a pipe bursts.
- Maintain your heating equipment. Have it serviced every year.
- Stock up. Make sure you have non-perishable foods on hand, and keep a supply of bottled drinking water available.
- Make a Family Communications Plan. Detail how your family members will contact one another in case of an emergency, how you will get back together, and how to move forward.
Blog Inspo: https://howtonestforless.com/how-to-winterize-your-home/
Blog Inspo: https://cottagelife.com/design-diy/firewood-101/
Blog Inspo: https://mommyknowswhatsbest.com/winter-emergency-kit/
Blog Inspo: Just for Fun
